Save & Search Filters on the BLINK
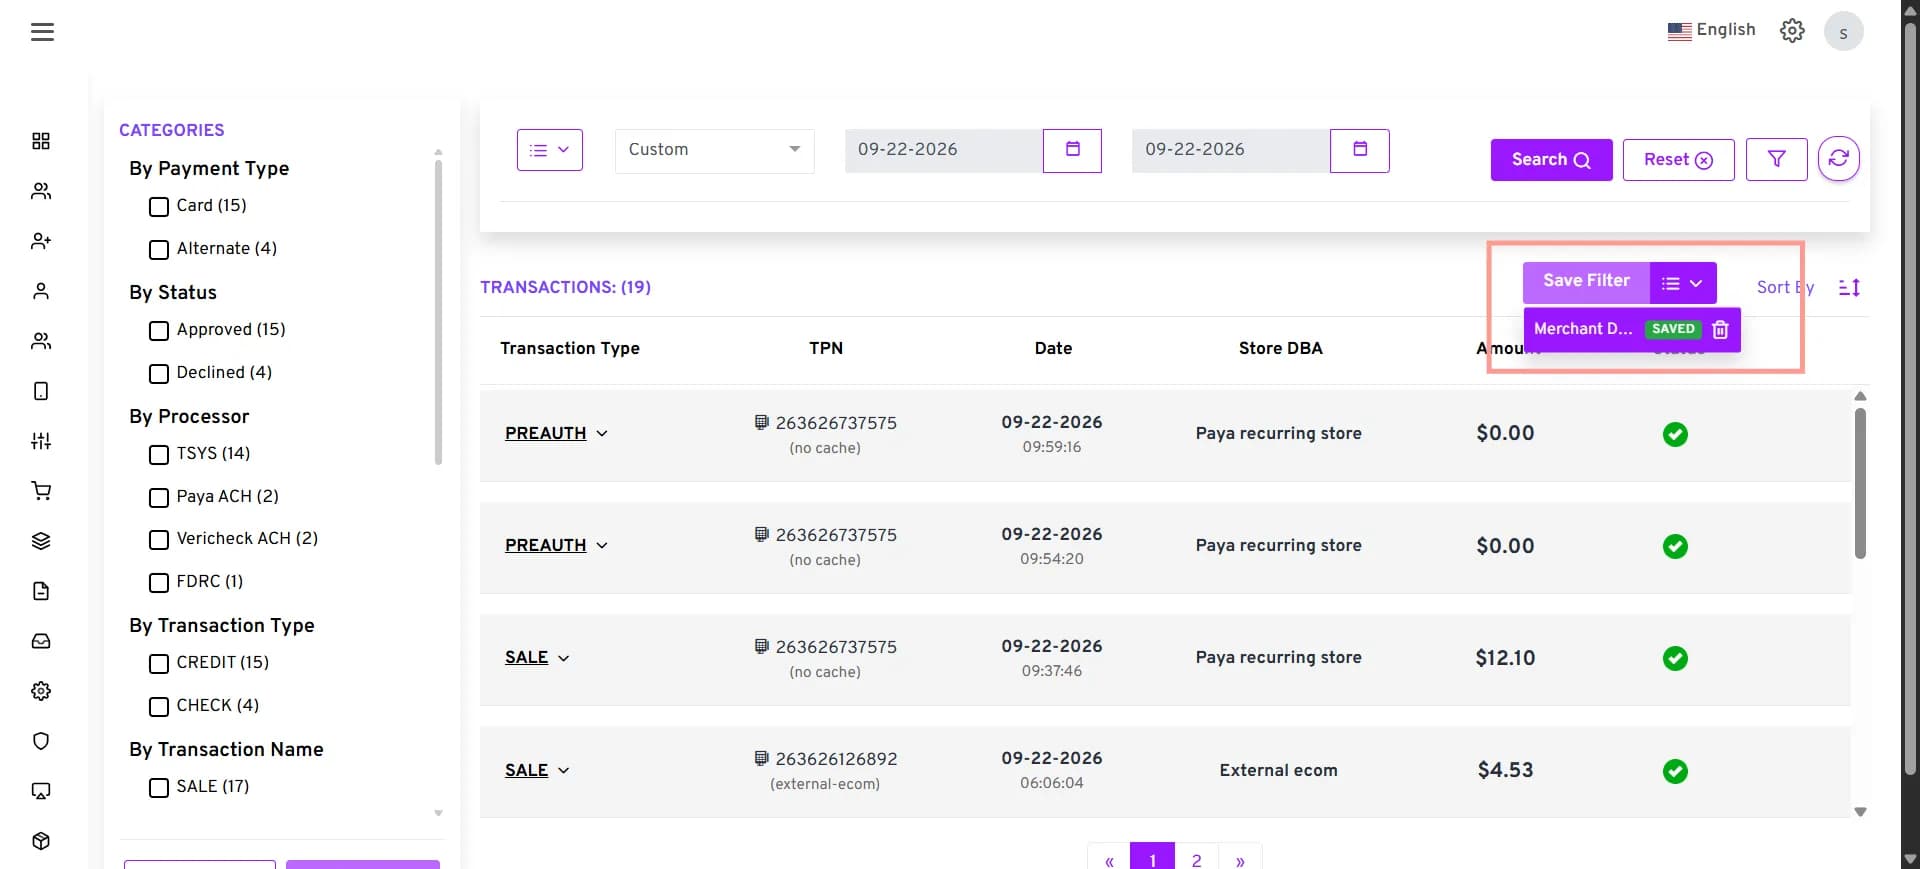
Users can now save transaction search filters with a custom name and quickly reuse them later. The Save & Search option lets users apply their selected filters, save them for future use, and access saved filters from a dropdown on the BLINK transaction page.
Key Benefits
- Save frequently used transaction filters with custom names.
- Run a search and save the filter in one action.
- Access previously saved filters from the saved filters dropdown.
How to Save and Reuse Transaction Search Filters on the BLINK Page
-
Log in to the iPOSpays Portal using your ISO, Agent Office, Merchant, or Store Manager user credentials.
-
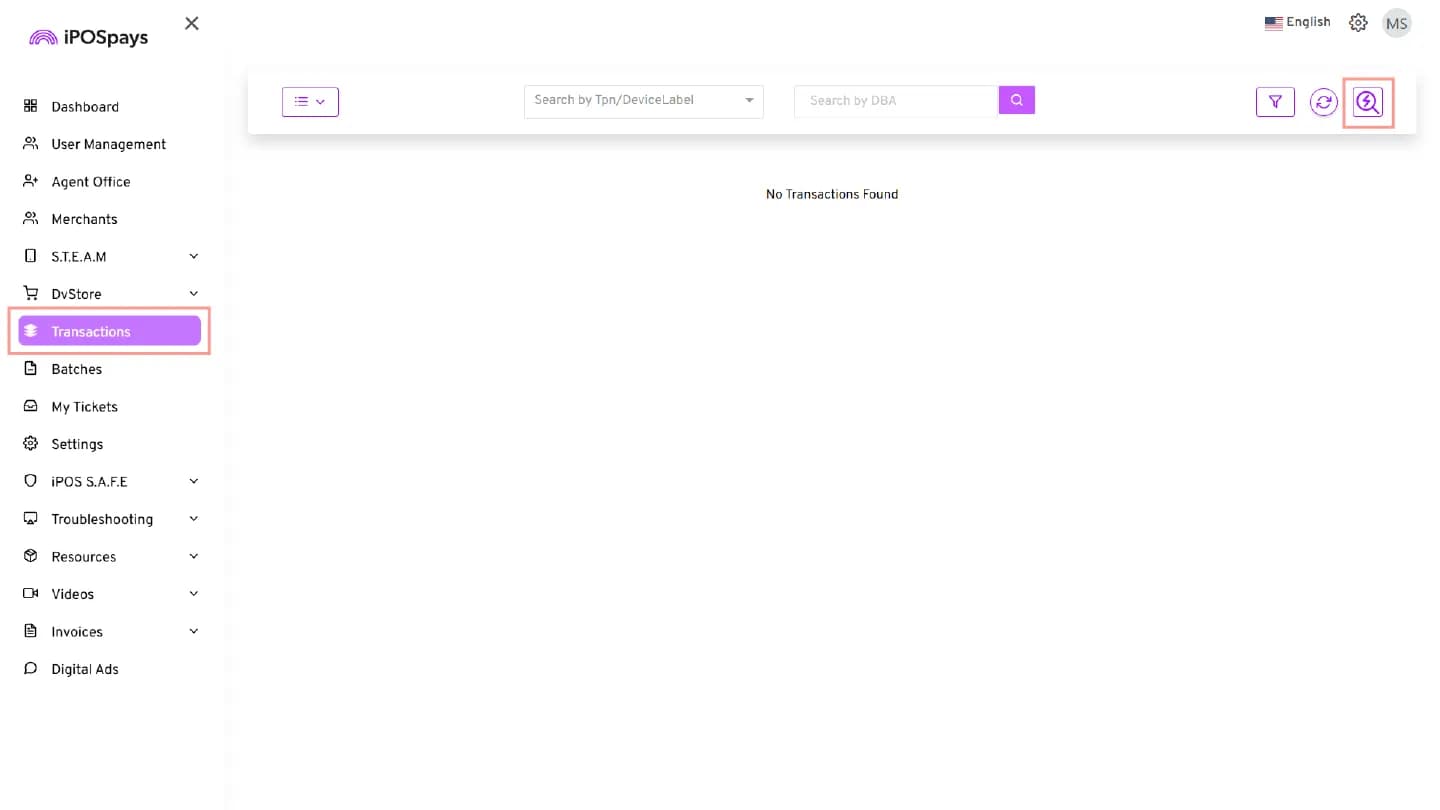
From the dashboard, navigate to the Transactions section.
-
On the right side of the Transactions module, click the lightning bolt (⚡) icon.
-
Select the required search criteria and filters, then click Search to display the matching transactions.
-
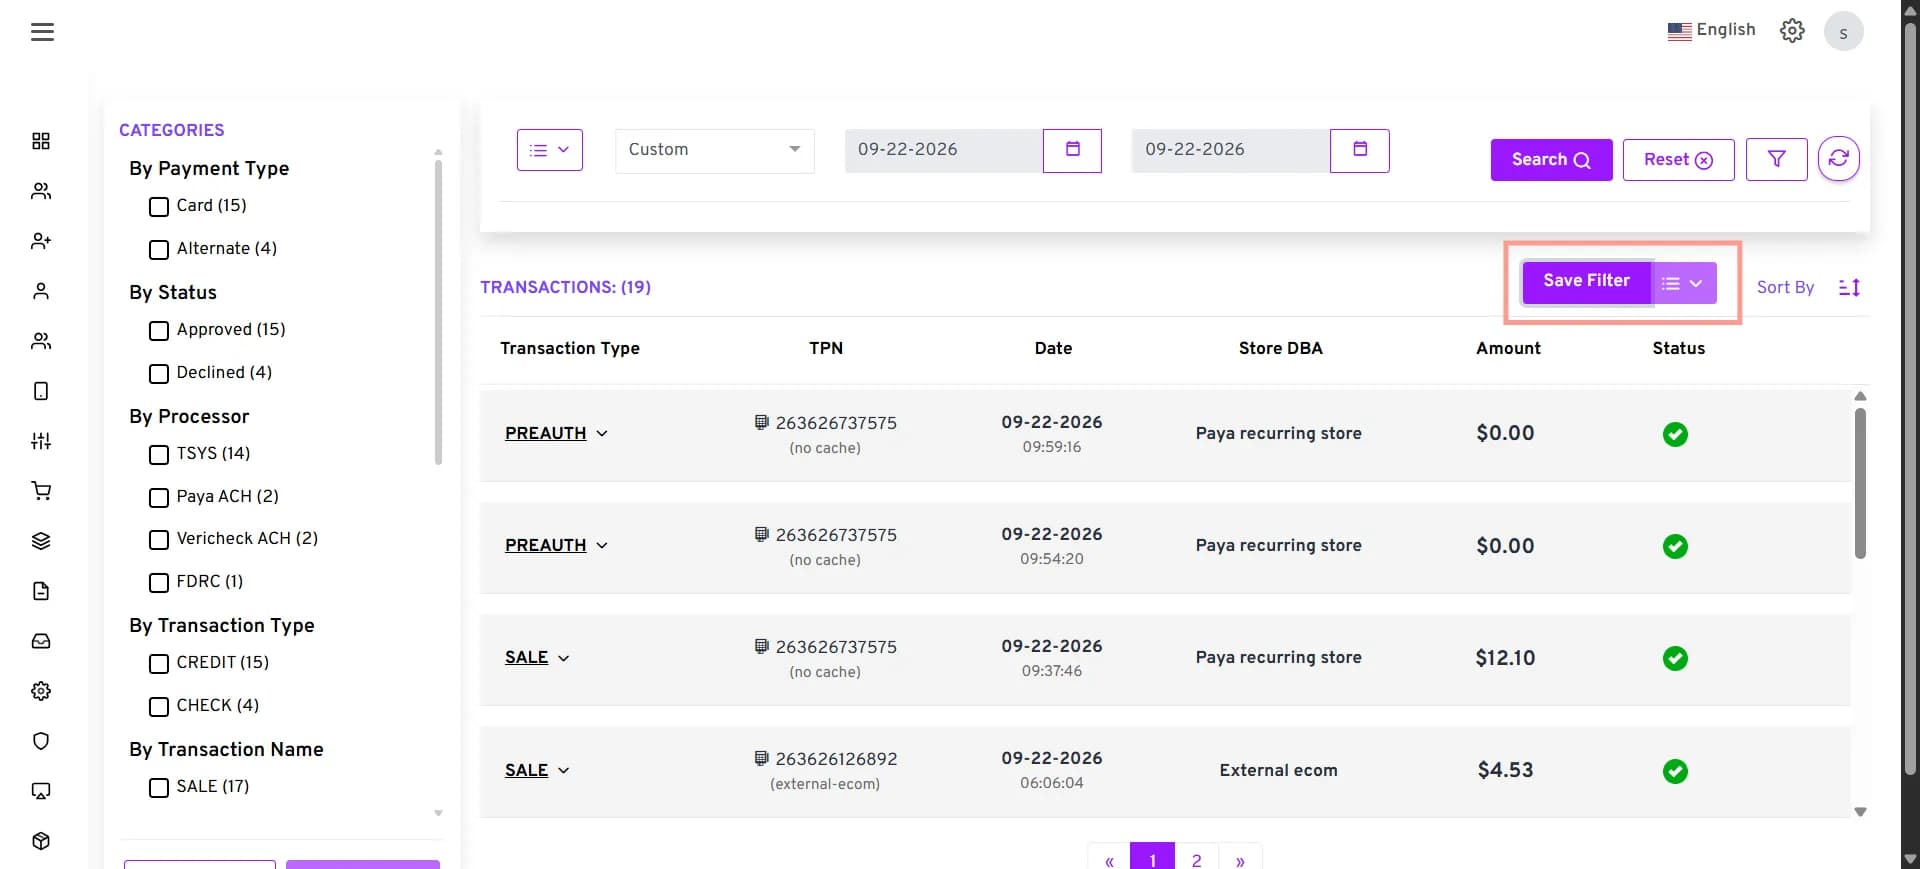
Click Save Filter on the right side of the Transactions module.
-
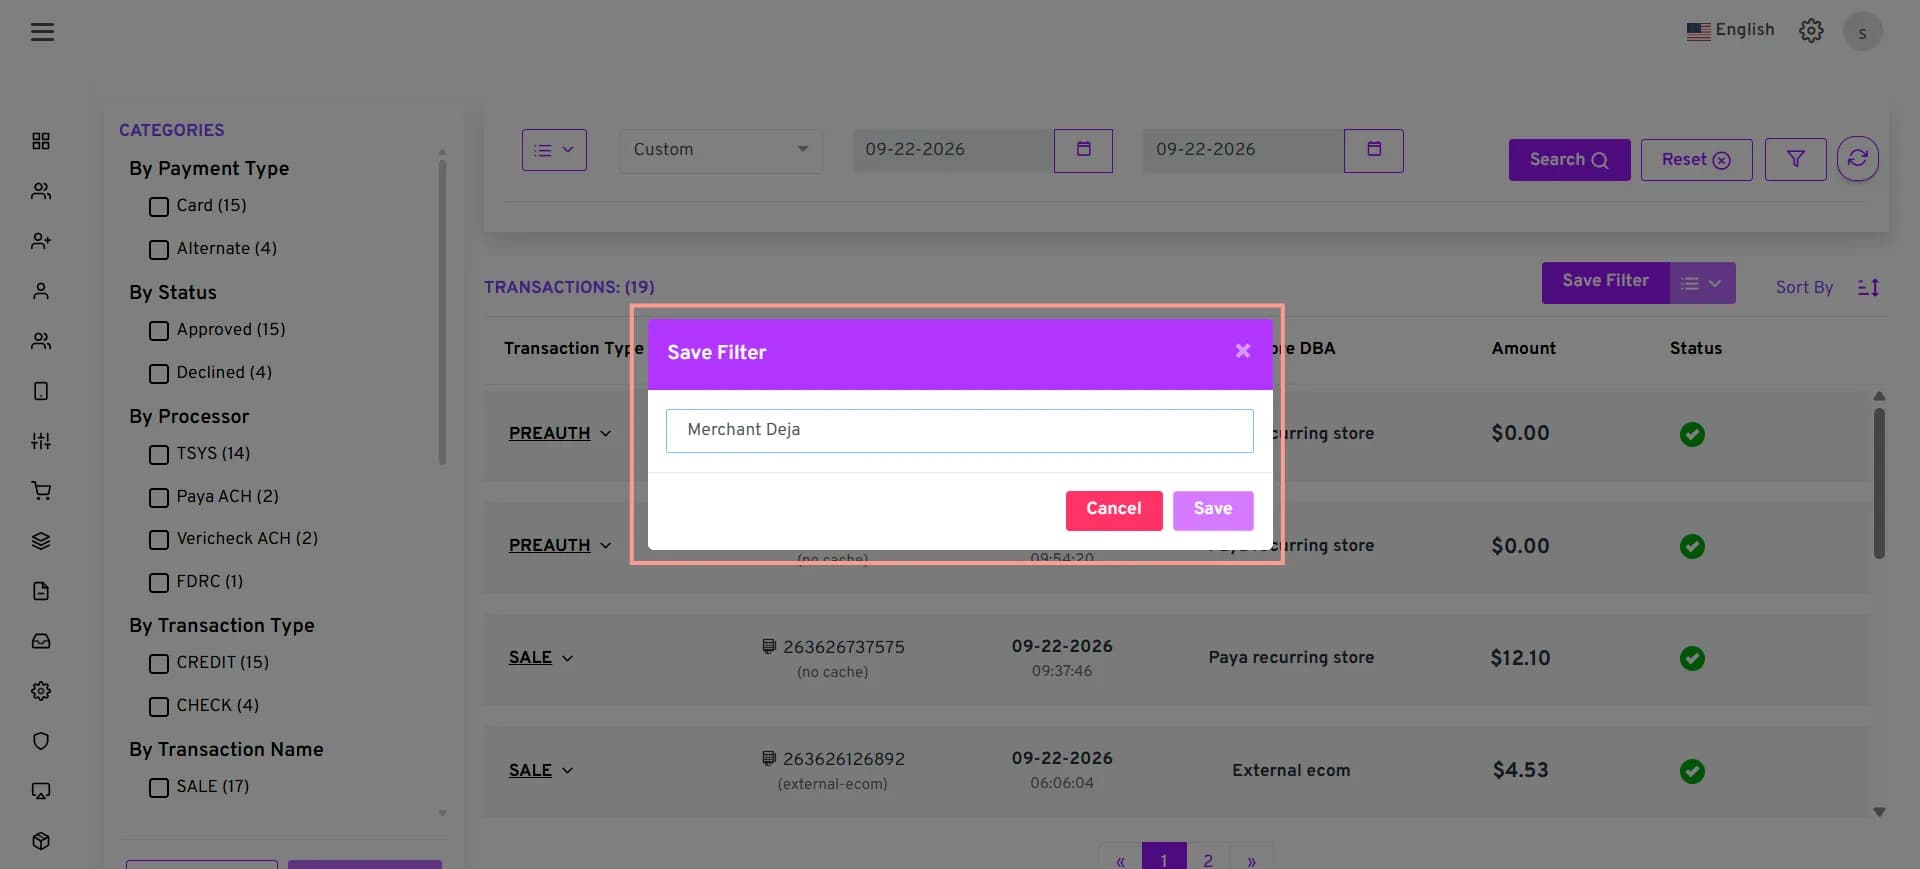
In the Save Filter pop-up window, enter a custom name for the filter.
-
Click Save to save the selected filter for future use.
The saved filter will appear in the saved filters dropdown next to the Save Filter button.